Welcome to the sixth blog of the series! From the last five blogs, we have seen how to set up Git and collaborate using GitHub. In this blog, we will see how to work with Git with Visual Studio Code.
What is Visual Studio Code?
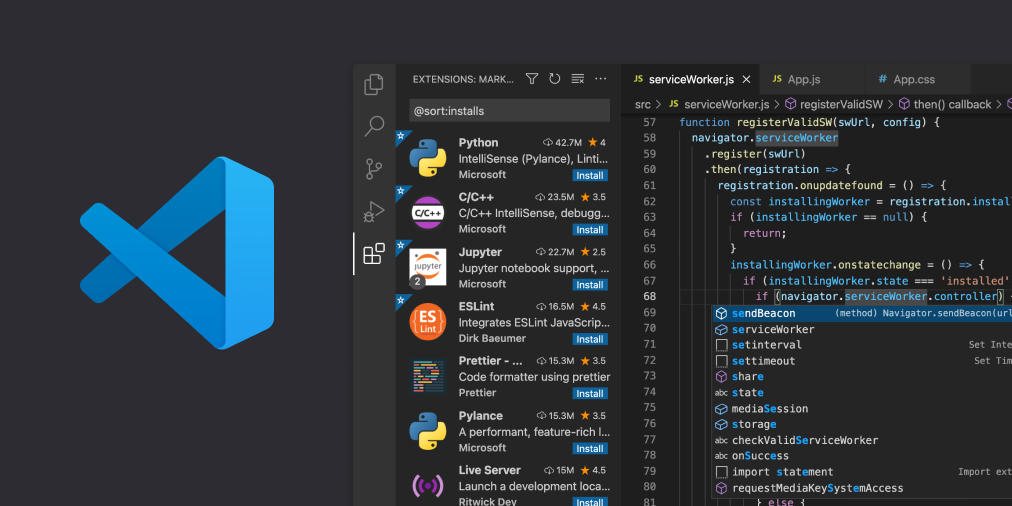
Visual Studio Code is a free, lightweight but powerful source code editor that runs on your desktop and the web and is available for Windows, macOS, Linux, and Raspberry Pi OS.

Prerequisites
Before we begin, make sure you have the following:
-
Git is installed on your machine. You can download it from the official Git website. You can refer to this blog for installation %[https://dev.to/pratik\_kale/setting-up-git-on-your-local-machine-41l1\]
-
Visual Studio Code is installed on your machine. You can download it from the official VS Code website.
Initializing a Repository
To start using Git in your project with Visual Studio Code, you need to initialize a Git repository. Here's how you can do it:
-
Open Visual Studio Code and navigate to your project folder.
-
Open the integrated terminal by clicking on View -> Terminal or using the shortcut Ctrl+`.
-
In the terminal, run the following command to initialize a Git repository:
$ git init
This command creates a hidden .git folder in your project, which contains all the necessary files for Git to track changes. This command creates a hidden .git folder in your project, which contains all the necessary files for Git to track changes.
OR
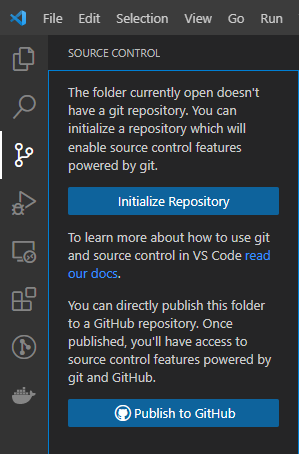
You can use the Initialize Repository button.

Committing Changes
Once you have initialized a Git repository, you can start committing changes to it. Visual Studio Code provides a user-friendly interface to stage and commit your changes. Follow these steps:
-
Make changes to your code files in the editor.
-
Open the Source Control view in Visual Studio Code by clicking on the Git icon in the sidebar (or using the shortcut Ctrl+Shift+G).
-
You will see a list of your modified files. Click on the "+" icon next to the files you want to stage for the commit. Alternatively, you can stage all changes by clicking on the "+" icon at the top of the Source Control view.
-
Enter a commit message in the input field at the top of the Source Control view, describing the changes you made.
-
Click on the checkmark icon to commit the changes.
Congratulations! You have successfully committed your changes to the Git repository.
Branching and Merging
Git branching allows you to create separate lines of development within your project. You can create new branches to work on features or bug fixes without affecting the main branch. Visual Studio Code provides a simple way to manage branches. Let's explore:
-
Open the Source Control view in Visual Studio Code.
-
Click on the branch icon at the top left corner of the Source Control view to open the branch management interface.
-
In the interface, you can see the list of branches. Click on the "+" icon to create a new branch.
-
Enter a descriptive name for your new branch and press Enter.
-
Once you have made changes in the new branch, you can switch back to the main branch or any other branch by selecting it from the branch dropdown.
To merge changes from one branch to another, follow these steps:
-
Ensure you are on the branch where you want to merge the changes (e.g., the main branch).
-
Open the branch management interface in the Source Control view.
-
Click on the three dots (ellipsis) next to the branch you want to merge from and select Merge Branch.
-
Choose the branch you want to merge into the current branch and confirm the merge.
Resolving Conflicts
Conflicts may occur when Git encounters incompatible changes during a merge or rebase operation. Visual Studio Code provides a built-in merge conflict resolution tool. Here's how to handle conflicts:
-
When a conflict occurs, Visual Studio Code will show the conflicting files in the Source Control view with conflict markers (<<<<<<<, =======, and >>>>>>>).
-
Click on a conflicting file to open it in the editor.
-
Visual Studio Code provides a side-by-side view of the conflicting changes.
-
Manually edit the conflicting sections to resolve the conflicts.
-
After resolving the conflicts, save the file.
-
Use the checkmark icon in the Source Control view to mark the conflicts as resolved.
Once conflicts are resolved, you can proceed with the commit and continue your development workflow.
Conclusion
Using Git with Visual Studio Code provides a seamless experience for version control in your projects. From initializing a repository and committing changes to branching, merging, and resolving conflicts, Visual Studio Code simplifies the Git workflow with its intuitive interface and powerful features. By mastering these Git functionalities within Visual Studio Code, you can collaborate effectively, track changes efficiently, and ensure the integrity of your codebase. Enjoy the productivity and control that Git and Visual Studio Code bring to your development journey!
Thank you for reading and do let me know your thoughts in the comments!
Connect With Me : Website | Twitter | LinkedIn | Instagram | Mail