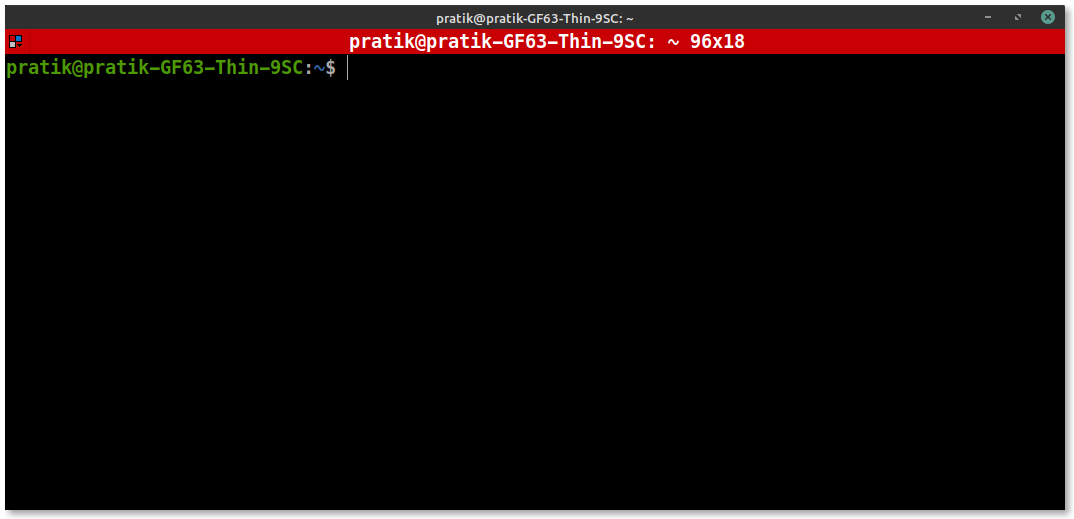
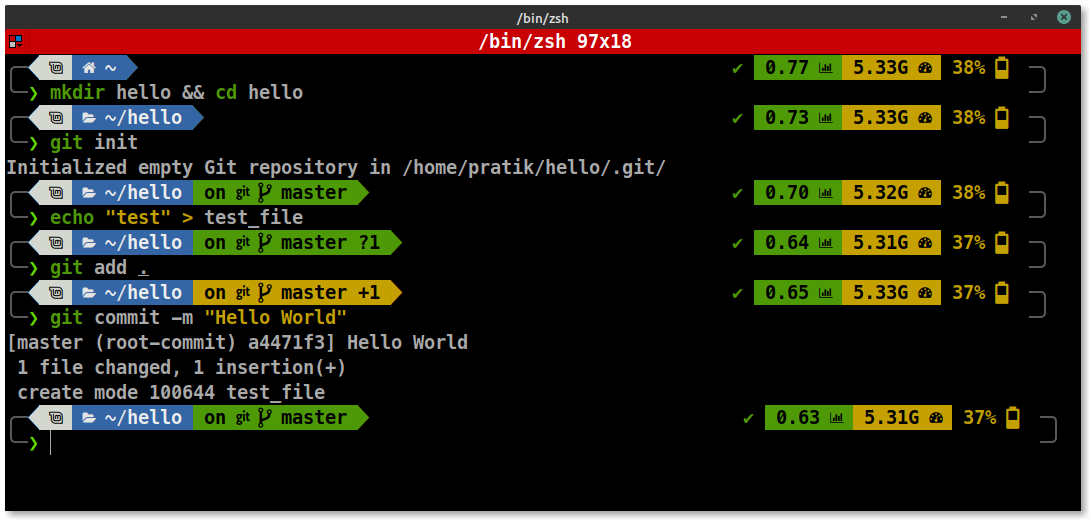
Transform your terminal from this to this !!
Before
After
What we will set up?
1.Zsh
ZSH, also called the Z shell, is an extended version of the Bourne Shell (sh), with plenty of new features, and support for plugins and themes.
2.Powerlevel 10k
Powerlevel10k is a theme for Zsh. It emphasizes speed, flexibility and out-of-the-box experience.
3.Zsh-syntax-highlighting
This package provides syntax highlighting for the shell zsh. It enables the highlighting of commands whilst they are typed at a zsh prompt into an interactive terminal. This helps in reviewing commands before running them, particularly in catching syntax errors. Some examples:
Before:

After:

4.Zsh-autosuggestions
As you type commands, you will see a completion offered after the cursor in a muted grey color. If you press the → key (forward-char widget) or End (end-of-line widget) with the cursor at the end of the buffer, it will accept the suggestion, replacing the contents of the command line buffer with the suggestion.
1.Install Zsh
1)Installation
Ubuntu, Debian & derivatives
sudo apt install zsh
Arch Linux or Manjaro
pacman -S zsh
macOS
brew install zsh
2)Verify your installation by running zsh --version. Expected result: zsh 5.0.8 or more recent.
3)Make it your default shell
chsh -s $(which zsh)
Note that this will not work if Zsh is not in your authorized shells list
(/etc/shells)or if you don't have permission to usechsh. If that's the case you'll need to use a different procedure.
4)Log out and log back in again to use your new default shell.
5)Test that it worked with echo $SHELL. Expected result: /bin/zsh or similar.
2.Install and Cofigure powerlevel10k
1)Font
Powerlevel10k doesn't require custom fonts but can take advantage of them if they are available. It works well with Nerd Fonts, Source Code Pro, Font Awesome, Powerline, and even the default system fonts. The full choice of style options is available only when using Nerd Fonts.
Recommended font: Meslo Nerd Font patched for Powerlevel10k.
Download these four ttf files:
Double-click on each file and click "Install". This will make MesloLGS NF font available to all applications on your system. Configure your terminal to use this font:
-
GNOME Terminal (the default Ubuntu terminal): Open Terminal → Preferences and click on the selected profile under Profiles. Check Custom font under Text Appearance and select
MesloLGS NF Regular. -
Apple Terminal: Open Terminal → Preferences → Profiles → Text, click Change under Font and select
MesloLGS NFfamily. -
Microsoft Terminal: Open Settings (
Ctrl+,), search forfontFaceand set value toMesloLGS NFfor every profile. If you are using any other terminal click here for the configuration.
2)Installation
Clone the powerlevel10k GitHub repo
git clone --depth=1 https://github.com/romkatv/powerlevel10k.git ~/powerlevel10k
Source the powerlevel10k theme script in your .zshrc
echo 'source ~/powerlevel10k/powerlevel10k.zsh-theme' >>~/.zshrc
After this exit and reopen your terminal. Now you will see this message.
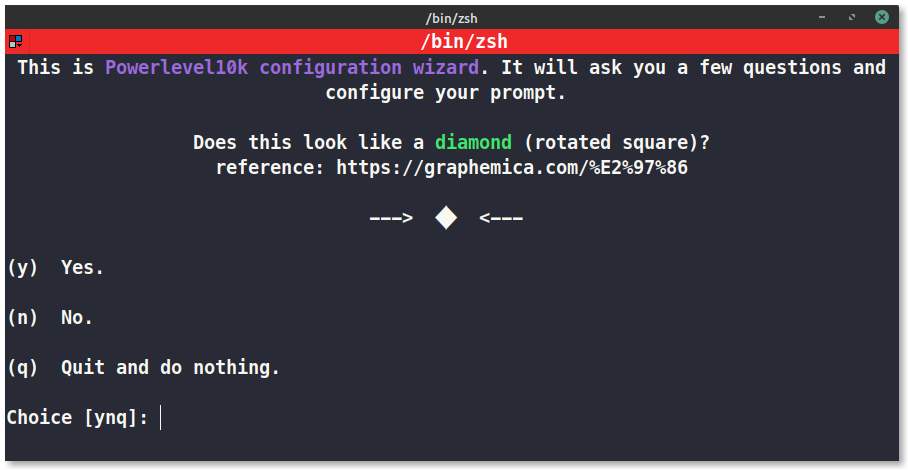
This is the Powerlevel10k cofiguration wizard select the options that you like and make your custom prompt !!
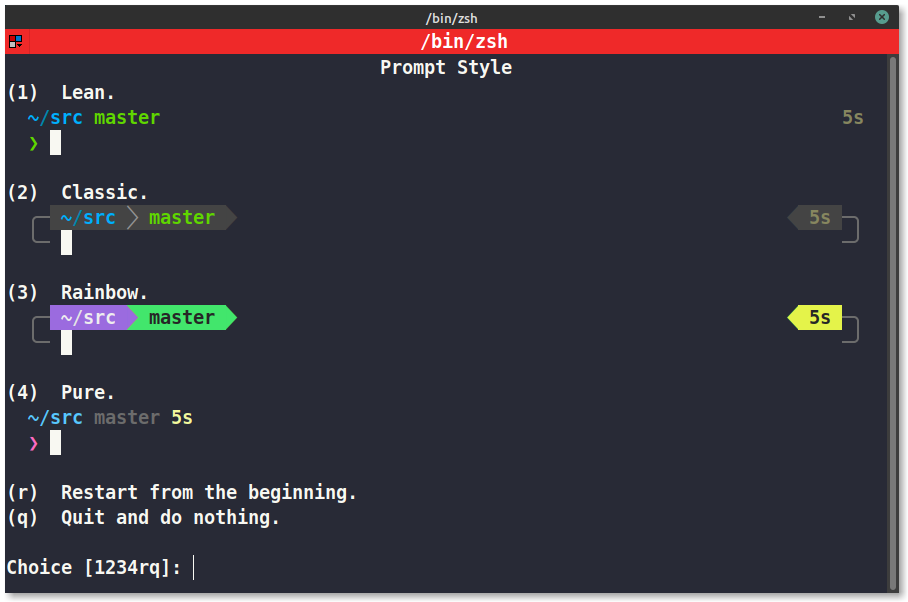
Choose the prompt style that you like.
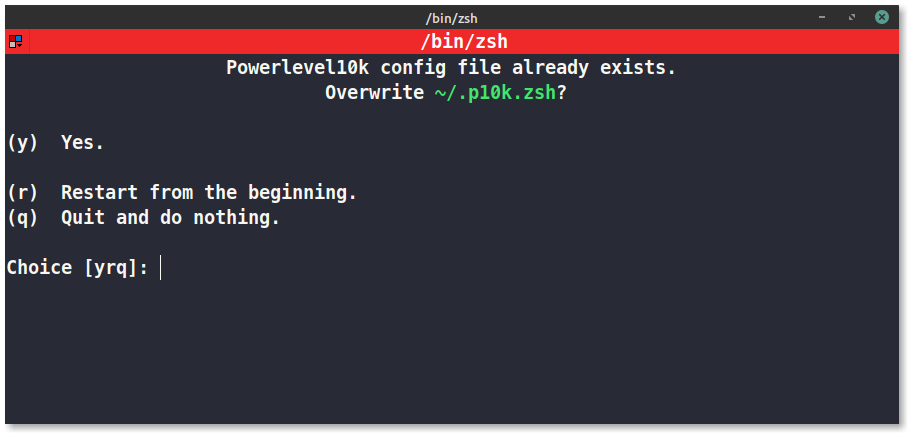
Press Y and save your changes.
If you want to change your prompt again just run the following command.
p10k configure
This will take you to the Powerlevel10k configuration wizard.
3.Zsh-autosuggestions and Zsh-syntax-highlighting
1)Zsh-autosuggestions
Clone the Zsh-autosuggestions repo
git clone https://github.com/zsh-users/zsh-autosuggestions ~/.zsh/zsh-autosuggestions
Source the script in your .zshrc
echo 'source ~/.zsh/zsh-autosuggestions/zsh-autosuggestions.zsh'>>~/.zshrc
Then exit and start a new terminal session.
2)Zsh-syntax-highlighting
Clone the Zsh-syntax-highlighting repo
git clone https://github.com/zsh-users/zsh-syntax-highlighting.git
Source the script in your .zshrc
echo 'source ~/zsh-syntax-highlighting/zsh-syntax-highlighting.zsh'>>~/.zshrc
Note the source command must be at the end of ~/.zshrc.
Now exit and start a new terminal session.
And et voilà ! Your terminal is ready! Thank you so much for reading this article and do let me know your thoughts in the comments!
Connect with me:
Repositories Mentioned:
You can checkout this repositories for more information and customizations.
https://github.com/romkatv/powerlevel10k